Template:Location Template:Qlisten
The Light Forge was an elemental Reaver forge encountered by Raziel in Soul Reaver 2. Created by the Ancient vampires, the forge was located on the eastern banks of the Great Southern Lake in the south of Nosgoth and was the second forge encountered by Raziel in the game, initially discovered after Raziel left the Sarafan Stronghold in the Pre-Blood Omen era and entered shortly after Raziel had imbued the Dark Reaver at the Dark Forge. Completing the puzzle of the forge, Raziel was able to imbue the Wraith Blade with elemental Light, creating the Light Reaver.
Role


Template:Qlisten
The Light Forge was a playable location in Soul Reaver 2, indicated as one of the main areas on the World map - shown as encompassing an area in south-central Nosgoth on the eastern banks of the Great Southern Lake, The Forge was the second of the ancient elemental forges found by Raziel in Soul Reaver 2, being initially discovered in the Pre-Blood Omen era in A Reaver in Time and explored in The Light Forge (chapter).[1][2][3]
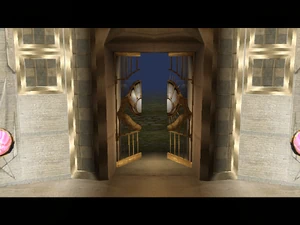
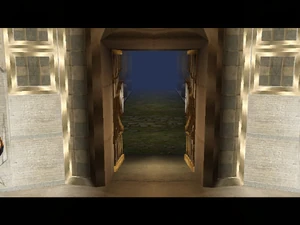
Shortly after Raziel first emerged from the Sarafan Stronghold in the Pre-Blood Omen era, he discovered a sealed door in the cliffs surrounding the Great Southern Lake, marked by a distinctive symbol. Investigating Nosgoth in this era, Raziel soon discovered the Dark Forge in the Swamp and after imbuing the Dark Reaver he recognized that the distinctive symbol represented elemental Darkness. Returning to the Southern Lake, Raziel was able to use the Dark Reaver to unlock the sealed door and enter the Light Forge.


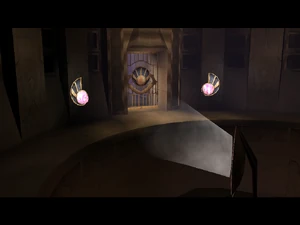
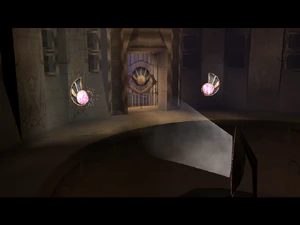
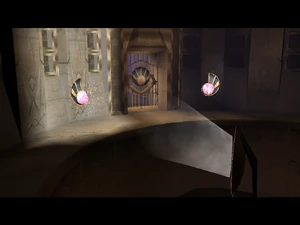

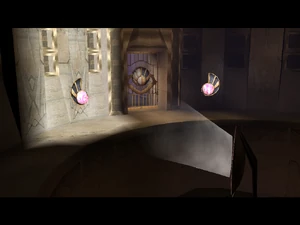


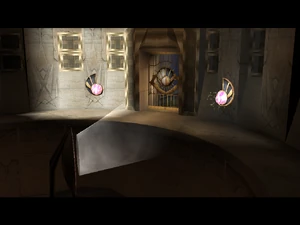
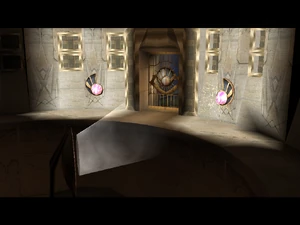
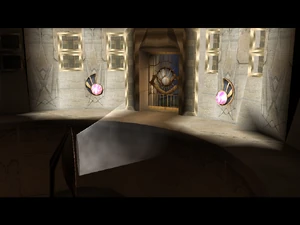
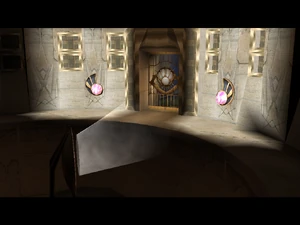
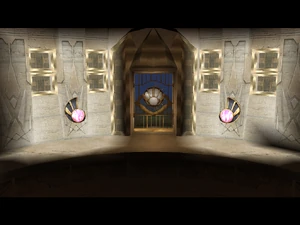

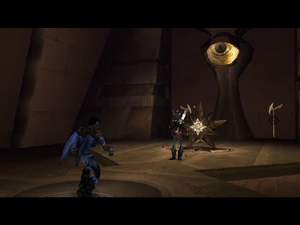
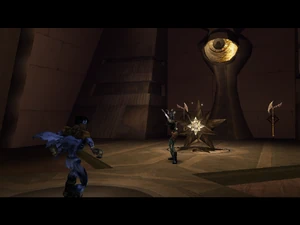
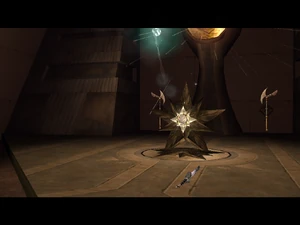
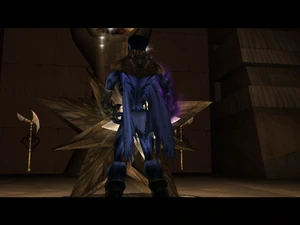
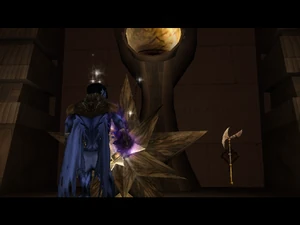
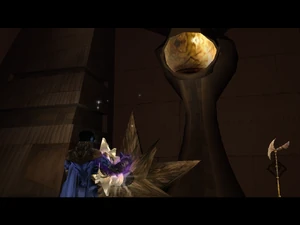
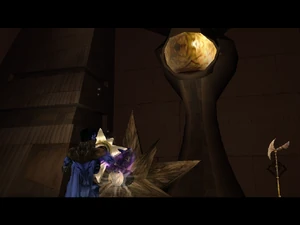
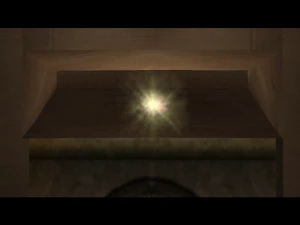
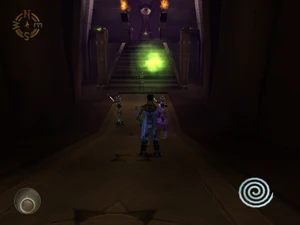
Upon entering the forge, Raziel observed murals depicting the raising of the Pillars by the winged race in the era Before Nosgoth's recorded history and recognized that this served to banish their adversaries. Progressing further into the forge, Raziel was able to reach the main chamber of the forge - a large open chamber bathed in Sunlight and decorated with several distinctive crystals and a number of large statues, including one in a center of the chamber in a bowing position with a distinctive 'star' symbol atop its head.Template:Ref-SR2-Prima
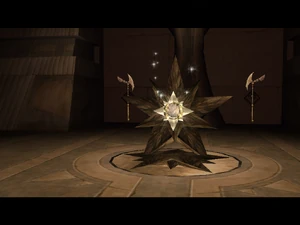
The main objective of the forge was to recover the star-shaped Light Forge key and return it to the main chamber, where it could be used it to activate the forge.
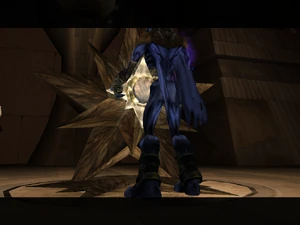
This was achieved in several stages, with it necessary for Raziel to recover a number of Reflector items from Greater thralls and use them in conjunction with larger movable and rotatable Reflectors to manipulate the course of light through the forge and open different passages, ultimately allowing him to reach the Light forge key at the far end of the forge in the Material Realm and recover it by blinding the protecting Sentry eye.
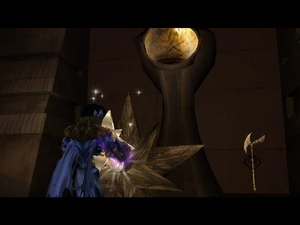
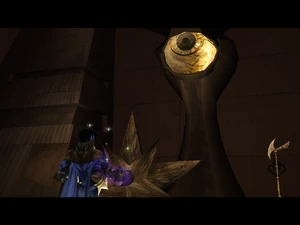


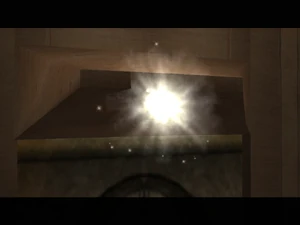
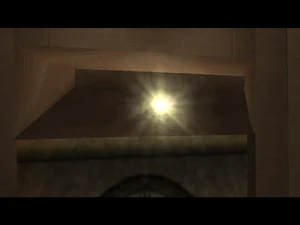


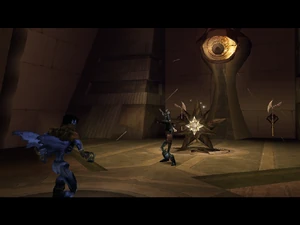
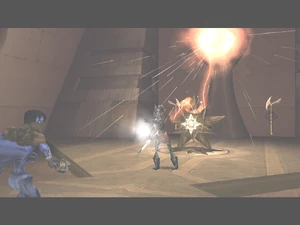
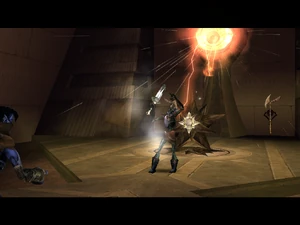
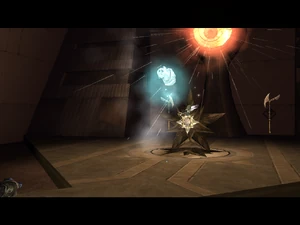
Returning to the main chamber with the forge key, Raziel was able to place it in the main statue, causing it to rise up and activate the forge altar hidden beneath it. Imbuing the Wraith Blade with the elemental Light therein created the Light Reaver and activating all Light-affiliated Reaver fonts.[4]
As Raziel left the forge he discovered that Reaver bolts from the Light Reaver could activate special Light crystals, and he was ultimately able to use this ability to re-enter the Sarafan Stronghold and its Time-streaming chambers [4]
Design and Layout


Like the other elemental forges, The Light Forge is illustrated on the World map simply as a Light symbol and no effort is made to outline its area. The forge appears to in the South of Nosgoth, at the eastern bank of the Great Southern Lake, some distance west of the Lake of Serenity and south of Vorador's Mansion; though the layout of the forge would suggest it extended some way north of the lake area.[1][2][3]
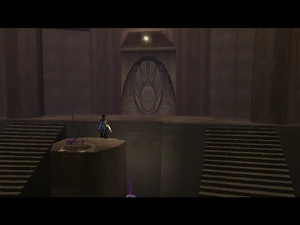
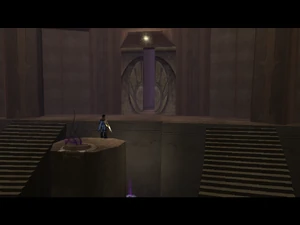
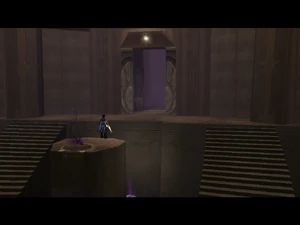
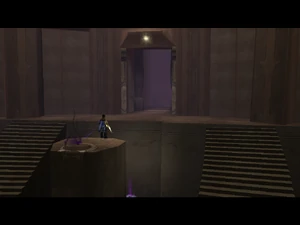
In game, the Light forge was accessed from a small island in the cliffs on the south-eastern bank of the Great Southern Lake, where a Sealed door marked with a Darkness symbol led into the forge. Behind the doorway a tall corridor lined with pillars led south for a short distance before turning east and eventually turning north into the forge entrance chamber. The entrance chamber was a large open roofed roughly pentagonal chamber with high walls along with several pillar constructions. Raziel entered from a doorway in the south onto a high balcony spanning the south of the chamber and from the balcony two curved stairways led northward down to the floor of the chamber, where a Dark Reaver font could be found beneath the southern balcony. In the center of the chamber a high pillar stood with a Shadow bridge activation plate leading to a high opening on the north of the chamber. On the east and west walls murals were placed depicting the raising of the Pillars and the banishment of the Hylden respectively, while several murals around the walls of the chamber alos contained depictions of Ancient vampires, the Reaver and the Light symbol. Continuing on through the northern opening led up a small ramp to a Light marked gate and a small rectangular room beyond containing an initially inactive light font, with two distinctive square shaped burners in the eastern and western sides of the chamber. From here a wide pillared corridor led north to a large double door emblazoned with a sun and statue mural, which led into the main forge altar chamber.[3]


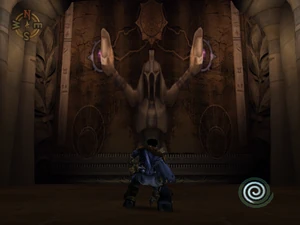


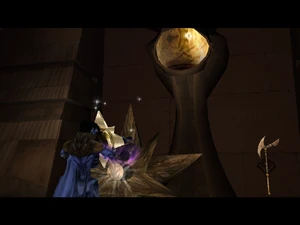
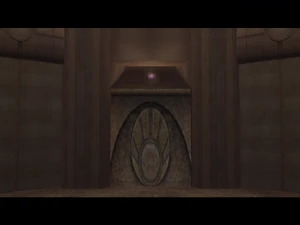
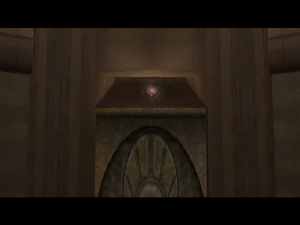
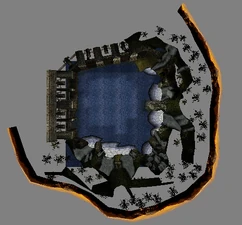
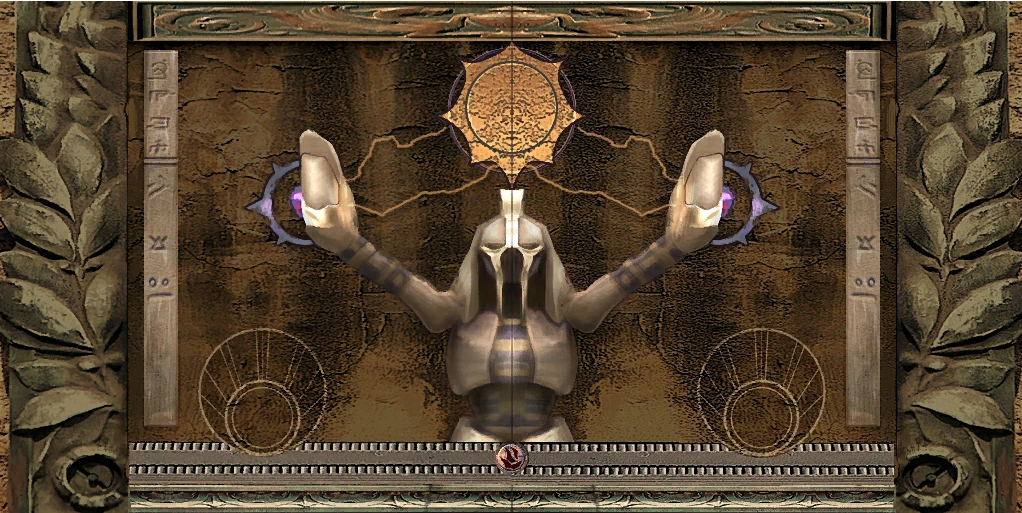
The main forge altar chamber was a large open roughly square shaped chamber with a curved northern end and several high openings along the sides of the chamber which allowed natural Sunlight to stream in. The southern wall was decorated by four large standing statues and a low platform along the southern wall which contained a small staircase in the center leading down north into a low enclosure in the center of the room where the forge altar was positioned. At the northern end of the central enclosure just behind the altar another large statue was placed, initially in a prostrated position with arms outstretched, the statue had notable crystals on the back of the hands, a star-shaped slot for the Light Forge key atop the headdress and was flanked by two tall pillars topped with large Reflector disks. Between the southern platform and the central enclosure two small staircases lined with flaming braziers led up to the east and west where ramps led up from the southern platform along the sides of the central enclosure to a curved walkway leading behind the central statue. At the east and western ends of the curved walkway, two dark sealed doors were positioned leading into the two side corridors, whilst at the head of the curve a light marked gate flanked by two large crystals allowed access to the large pillars hallway in the northern room behind. The pillars room was arguably the main hub of the light forge, with passageways leading to the remaining rooms in the forge.[3]
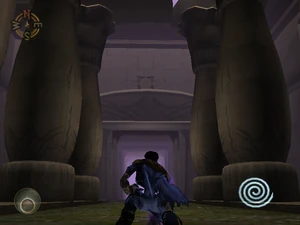
The pillars room itself was a large open roofed rectangular chamber lined with several large pillars and with six large pillars in the center of the room topped with beam constructions in various states of ruin. Along the center of the chamber a grassy trail ran north between the pillars to a passage leading north. In the south-west a trench ran north-south with a large reflector block embedded within it allowing Raziel to bounce light between the doorways in the south-west and western sun doorway. Similarly in the south-east a holder was positioned on a small plinth for a Reflector which could be placed and used with a nearby rotatable reflector to bounce light between the doorway in the south-east and the eastern sun doorway. At the top of the chamber a pair of high openings in the north-west and north-east could be crossed with a Shadow bridge activated from the east side.[3]


The various passageways leading out of the pillars hallway led into the remaining rooms of the forge:
- The southwestern corridor headed a short way west then met with a large reflector and headed south, crossing a small chasm and meeting another Reflector holder in the corner before the corridor turned east and entered the main chamber through the western dark sealed door.[3]
- Similarly the southeastern alcove contained the rotatable reflector off the pillars room and a passageway led south from here, crossing a small chasm and continuing passed a dark marked pillar to a reflector in the southern end, where a sealed doorway in the west led into the eastern dark sealed door in the main chamber.[3]
- The Western sun doorway led to a small pillar-lined corridor which headed north and dropped down into a small square room decorated with a two murals depicting the raising of the pillars - and it was here Raziel would gain the Reflector item from a Greater thrall.[3]
- Similarly the high north-western opening (reached by a shadow bridge from the high northeastern opening) led south into another small square room containing dual depictions of the raising of the pillars, where it was necessary to confront a Greater thrall to recover a Reflector item. Continuing South from here it was possible to drop into the western side corridor below.[3]
- The northern sun doorway off the southeastern alcove contained a long wide corridor which headed east before turning north through a darkness sealed gate into another large open courtyard area, square in shape and covered in grass with several columns and a high beamed construction. The courtyard contained dark font in the north and several curious gravestone-like features in the corners of the courtyard. In the west of the chamber a notable mural depicted Ancient vampires, the Reaver and the Light symbol with the rays from the symbol appearing to power the Reaver. A block could be pulled from this wall allowing Raziel to climb to the platform above and a long wide corridor behind leading west back to the high northeastern opening in the pillars room.[3]
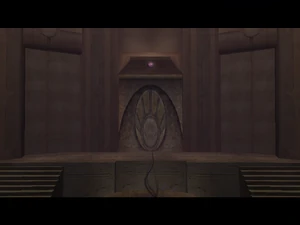
- The final passageway at the north end of the grassy trail led northward down a long straight darkened corridor marked by star-shaped symbols on the floor and at the end of the corridor the passageway widened into a small square room decorated with subtle vampire depictions on the walls with a wide staircase at the north leading between several small pillars to a raised platform in the north. The final room behind was a similarly square shape with a small construction containing a Sentry eye at the north of the room protecting the Light Forge key positioned on a star-shaped holder just north of the center of the room. An hourglass-shaped floor covering and a darkness symbol at the southern end marked the range of the sentry and the appropriate targeting location.[3]


Connections
Form the open room with the large pillars behind the main chamber ("Light7")
- The Southern gate leads into the main forge chamber ("Light1"), where the southern 'solution mural' door leads through a small chamber ("Light21") into the entrance mural chamber ("Light20") and on through the entrance passage ("Lake9"), emerging at the 'inner' lake area ("Lake3").
- The southwestern passage leads south through the corridor ("Light16") connecting to the western dark sealed door in the main chamber ("Light1").
- The central western passage leads north into a small 'pillar mural' room where the first Reflector is gained. ("Light9").
- The northern passage leads down a long corridor ("Light14") to a chamber containing the Light Forge key ("Light6").
- The southwestern passage splits - the southern passage leading through a corridor ("Light17") connecting to the eastern dark sealed door in the main chamber ("Light1"); the northern passage heads down a wide corridor to the 'gravestone room' ("Light3").
- The high eastern opening leads down a wide corridor ("Light8") to the upper level of the 'gravestone room' ("Light3").
- the high western opening leads to a small 'pillar mural' room where the second Reflector is gained, which connects with the western corridor below ("Light16").
Background
Template:Banner-RealWorld Like the other Reaver forges of Soul Reaver 2, the Light forge was based upon distinct architectural elements from real-world ancient temples, with The Light forge particularly related to real world Ancient Egyptian architecture and temple design.[5] Design elements and features associated with Ancient Egypt include apparent limestone and sandstone construction materials, a grand column-lined hypostyle hall,Cavetto cornices atop walls and columns, hieroglyphic-like Ancient runes, pictorial frescoes and carvings, an open peristyle court, a central idol and many symbols and features related to Solar worship.
The Light Forge also seems to be one of the first playable sections of Soul Reaver 2 completed - it is unclear if any sections were completed for the cancelled Dreamcast version before the title was moved to the PlayStation 2,[6][7][8] though prerelease imagery depicts a number of locations visually identifiable as within the Light forge.[9]
Notes
One of the Light symbols from the Light forge
- The "Light Forge" is named as such in Soul Reaver 2 stage directions and the Prima guide.[4] Under Debug menus and game files the internal forge area is broken down into several chambers each listed under the main "Light" entry. The rooms are listed as: "Light1" - the main forge altar and statue room, "Light3" - the western open area containing cross 'gravestones' and adjoining corridor, "Light6" - the room with the Light Forge key and Sentry eye, "Light7" - the central open area lined with pillars, "Light9" - the room at the end of the western corridor decorated with pillars murals containing a Greater thrall and Reflector, "Light14" - The long passageway leading to the Light forge key room, "Light16" - the room above the western corridor decorated with pillars murals containing a Greater thrall and Reflector, "Light17" - the eastern passageway containing the 'dark obelisk', "Light18" - the passage between the top of the main pillars room and the top of the cross gravestone room, "Light20" - the forge entrance room containing the main murals and "Light21" - the small chamber between the entrance room and the main chamber. The narrow entrance passage leading from the Sealed door at the Great Southern Lake to the main mural room is instead listed under the "Lake" area, where it is listed under "Lake9". "Light7" and "Light18" are notably unstable and often crash, though their contents can be browsed in files. Along with the nearby "Lake9" and "Lake3" (internal lake area containing the Light forge and Spirit forge), the areas all only exist in one era, the Pre-Blood Omen era.
- Though initially discovered in A Reaver in Time, The Light Forge (chapter) marks the formal introduction of the Light forge as a playable location - the area cannot be entered before Raziel gains the Dark Reaver, or revisited after this time as the forge seals itself shut and the 'inner' Lake area is not present in the other time periods visited. The forge does not recur in later titles, though a different Light Forge is encountered within the Vampire Citadel in Legacy of Kain: Defiance.
- The Light forge contains a number of distinctive crystals that are activated by the beams of light used throughout the forge. These are visually similar to Light crystals and are effectively a 'demonstration version' of the principle - despite this the crystals cannot be activated by Light Reaver bolts, even if the Light Reaver is imbued early through Debug menus or similar effects.
- Like the earlier Dark forge the Light Forge features unique weapon variant designs that are found exclusively within that forge, in this case two exclusive weapons are found - one a trident weapon, the other a halberd.
Alternate raising mural with possible alternate pillar symbols
- Several significant murals are seen in the Light forge and some relate to significant events and concepts in the history of Nosgoth and the forge itself:
- Repeated imagery throughout the forge depicts the Light symbol, relating to the elemental alignment of the forge. Reaver symbols are also prominent throughout, relating to the weapon it enhances.
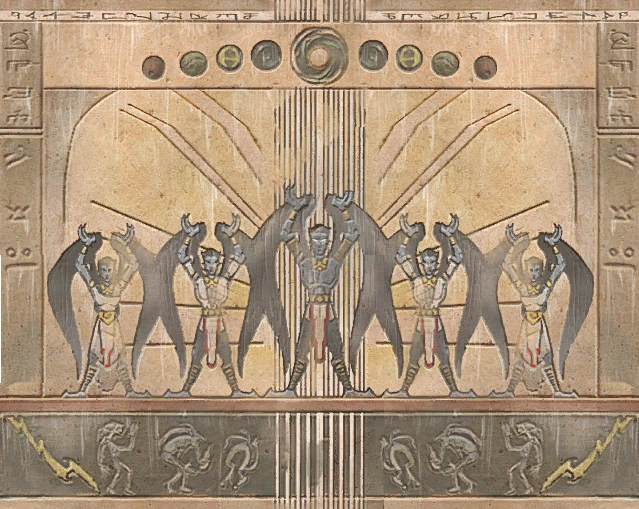
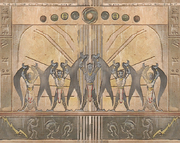
- The two murals in the entrance room depict the raising of the Pillars by the Ancient vampires and the banishment of the Hylden to the Demon Realm in the age Before Nosgoth's recorded history. The event had previously been hinted at in the murals in Subterranean Pillars Chamber in Decision at the Pillars. Similarly a repeated mural, seen in the areas where Raziel battles Greater thralls to recover Reflectors, also depicts a different version of the Raising of the pillars - both this and the entrance mural depicting the raising feature five ancient vampires taking part, with the central figure notably visually distinct and it is possible these differing murals represent the ten guardians called at the time of the Binding. The murals depicting these events are all surrounded by a border containing several Ancient runes and depiction of what appears to be the banishment - at the top of the border nine distinct symbols are seen, perhaps representing alternate symbols for the Pillars.
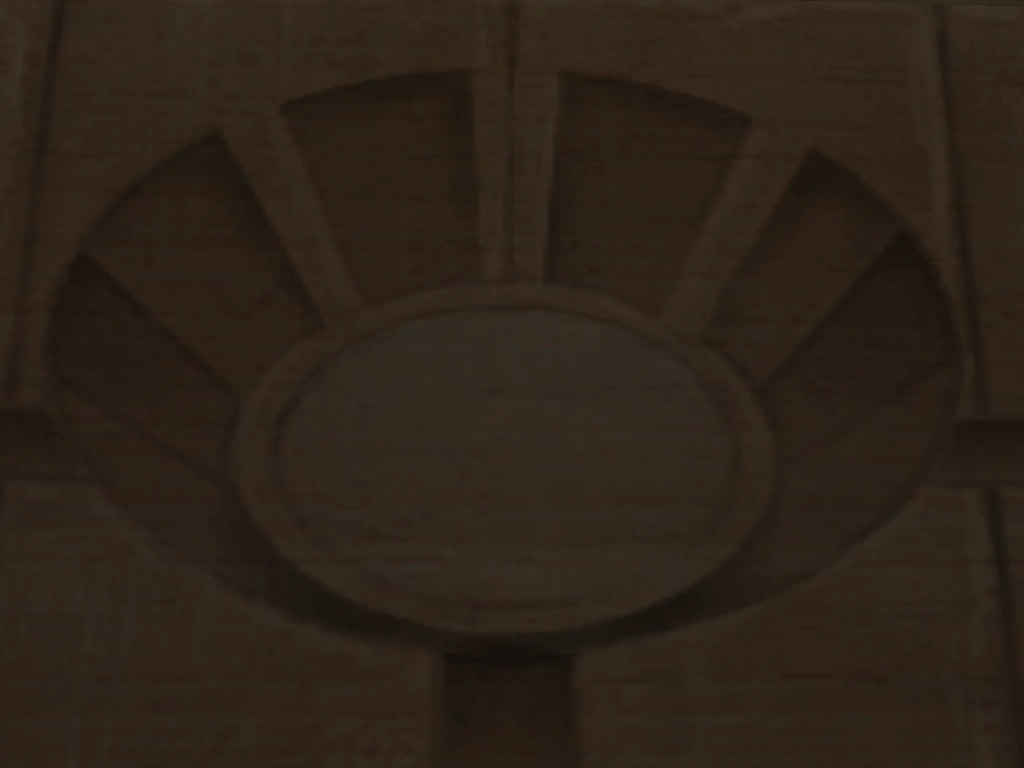
- Several star murals and markings depict elements of the forge puzzle, providing additional clues and aiding navigation through the forge. Star-shaped icons representing the similarly star-shaped Light Forge key are seen above the archway and along the trail leading to the room where it is found. Similarly the archway over the door leading to the main forge chamber is decorated with an icon representing the raised statue with light symbols for hands. Both visual elements are combined in the large double-doors at the entrance of the main chamber, which depicts the raised statue beneath a more rounded sun-like depiction of the forge key.
- Several murals also appear to depict forms of solar worship, relating to the real-world Ancient Egyptian inspiration for the forge, but also to the principle of Light, with which the forge was aligned - notably this is an element which negatively effected vampires after the infliction of the Blood curse.


The large 'solution mural'
- The 'solution mural' door is notably activated and opened through the use of tridactyl Claws and a three-clawed 'palm-print' symbol - the same mechanism is later used to open important doorways within Janos Audron's Retreat in Vampire Interview. The same door also features a subtle mural design in the top line, depicting two dragons either side of a jar - this design was also present in areas of Legacy of Kain: Soul Reaver and Legacy of Kain: Defiance, used as a representation of the Vampires.[10]
- The Light element itself is arguably a development of the elemental Sunlight seen in Legacy of Kain: Soul Reaver, which could ordinarily be used to dispatch fledgling and Rahabim vampires and was most notably associated with the Sunlight Glyph gained from the optional Lighthouse area from a puzzle involving the manipulation of a light beam. An associated Sunlight Forge location and Sunlight Reaver enhancement were both removed from the title.[11][12] Successors to the Soul Reaver 2 Light forge and Light Reaver would be seen in Legacy of Kain: Defiance, where a more permanent Light Reaver enhancement would be gained from a different Light Forge in Find the Path to the Pillars.
- When clearing the side corridors to bounce light into the main chamber, the camera angles of the cutscenes change depending upon the order the obstacles are cleared and activated. The cutscene as Raziel enters the back 'dark font room' also changes depending upon circumstances, with the cutscene - which is usually encountered only in the Spectral Realm - also able to be triggered in the Material Realm through Debug menus and other means.
Gallery
Murals and textures
")
")
")
")
")
")
")
")
")
")
")
")
")
")
")
")
")
")
")
")
Bonus materials
Appearances
- Template:Icon-SR2 Soul Reaver 2
- This article is about the forge to imbue the Wraith blade with elemental Light in Soul Reaver 2. For the forge with a similar purpose in Legacy of Kain: Defiance, see Light Forge (Defiance). For the forge with a similar purpose cut from Legacy of Kain: Soul Reaver, see Sunlight Forge.
See also
- The Light Forge (chapter)
- Reflector
- Light Forge key
- Light Reaver (SR2)
- Template:Icon-TLW Soul Reaver 2 Bonus Material - The Reaver Forges at The Lost Worlds (by Ben Lincoln).
References
- ↑ 1.0 1.1 Template:Icon-NR Soul Reaver 2 - Map of Nosgoth at Nosgothic Realm (by Tenaya)
- ↑ 2.0 2.1 Template:Icon-DC Soul Reaver 2 - Map of Nosgoth at Dark Chronicle (by Marie Tryhorn)
- ↑ 3.00 3.01 3.02 3.03 3.04 3.05 3.06 3.07 3.08 3.09 3.10 Template:Icon-Eidos The (almost) definitive Legacy of Kain maps thread at the Eidos Forums (by Shrykull/Bazielim)
- ↑ 4.0 4.1 4.2 Cite error: Invalid
<ref>tag; no text was provided for refs namedSR2-Prima - ↑ Template:Icon-DCab Various art and plot questions at DCabDesign (by Dubiel), post #2 (by Daniel Cabuco)
- ↑ Template:Icon-TLW Soul Reaver 2 for the Sega Dreamcast at The Lost Worlds (by Ben Lincoln)
- ↑ Template:Icon-DCab SR2 Dreamcast version at DCabDesign (by Raina Audron), post #2 (by Daniel Cabuco)
- ↑ Template:Icon-DCab Soul Reaver 2 questions at DCabDesign (by Raina Audron), post #2 (by Daniel Cabuco)
- ↑ Template:Icon-TLW Early Versions of Soul Reaver 2 at The Lost Worlds (by Ben Lincoln)
- ↑ Template:Icon-DCab A few questions at DCabDesign (by Paradoks), post #6 (by Daniel Cabuco)
- ↑ Template:Icon-TLWThe Elemental Reavers at The Lost Worlds (by Ben Lincoln)
- ↑ Template:Icon-TLWThe Elemental Reaver Forges at The Lost Worlds (by Ben Lincoln)
Template:Navbox-SR2-locations Template:Navbox-Nosgoth-Geography